
Install your SiteHive Hexanode Weather
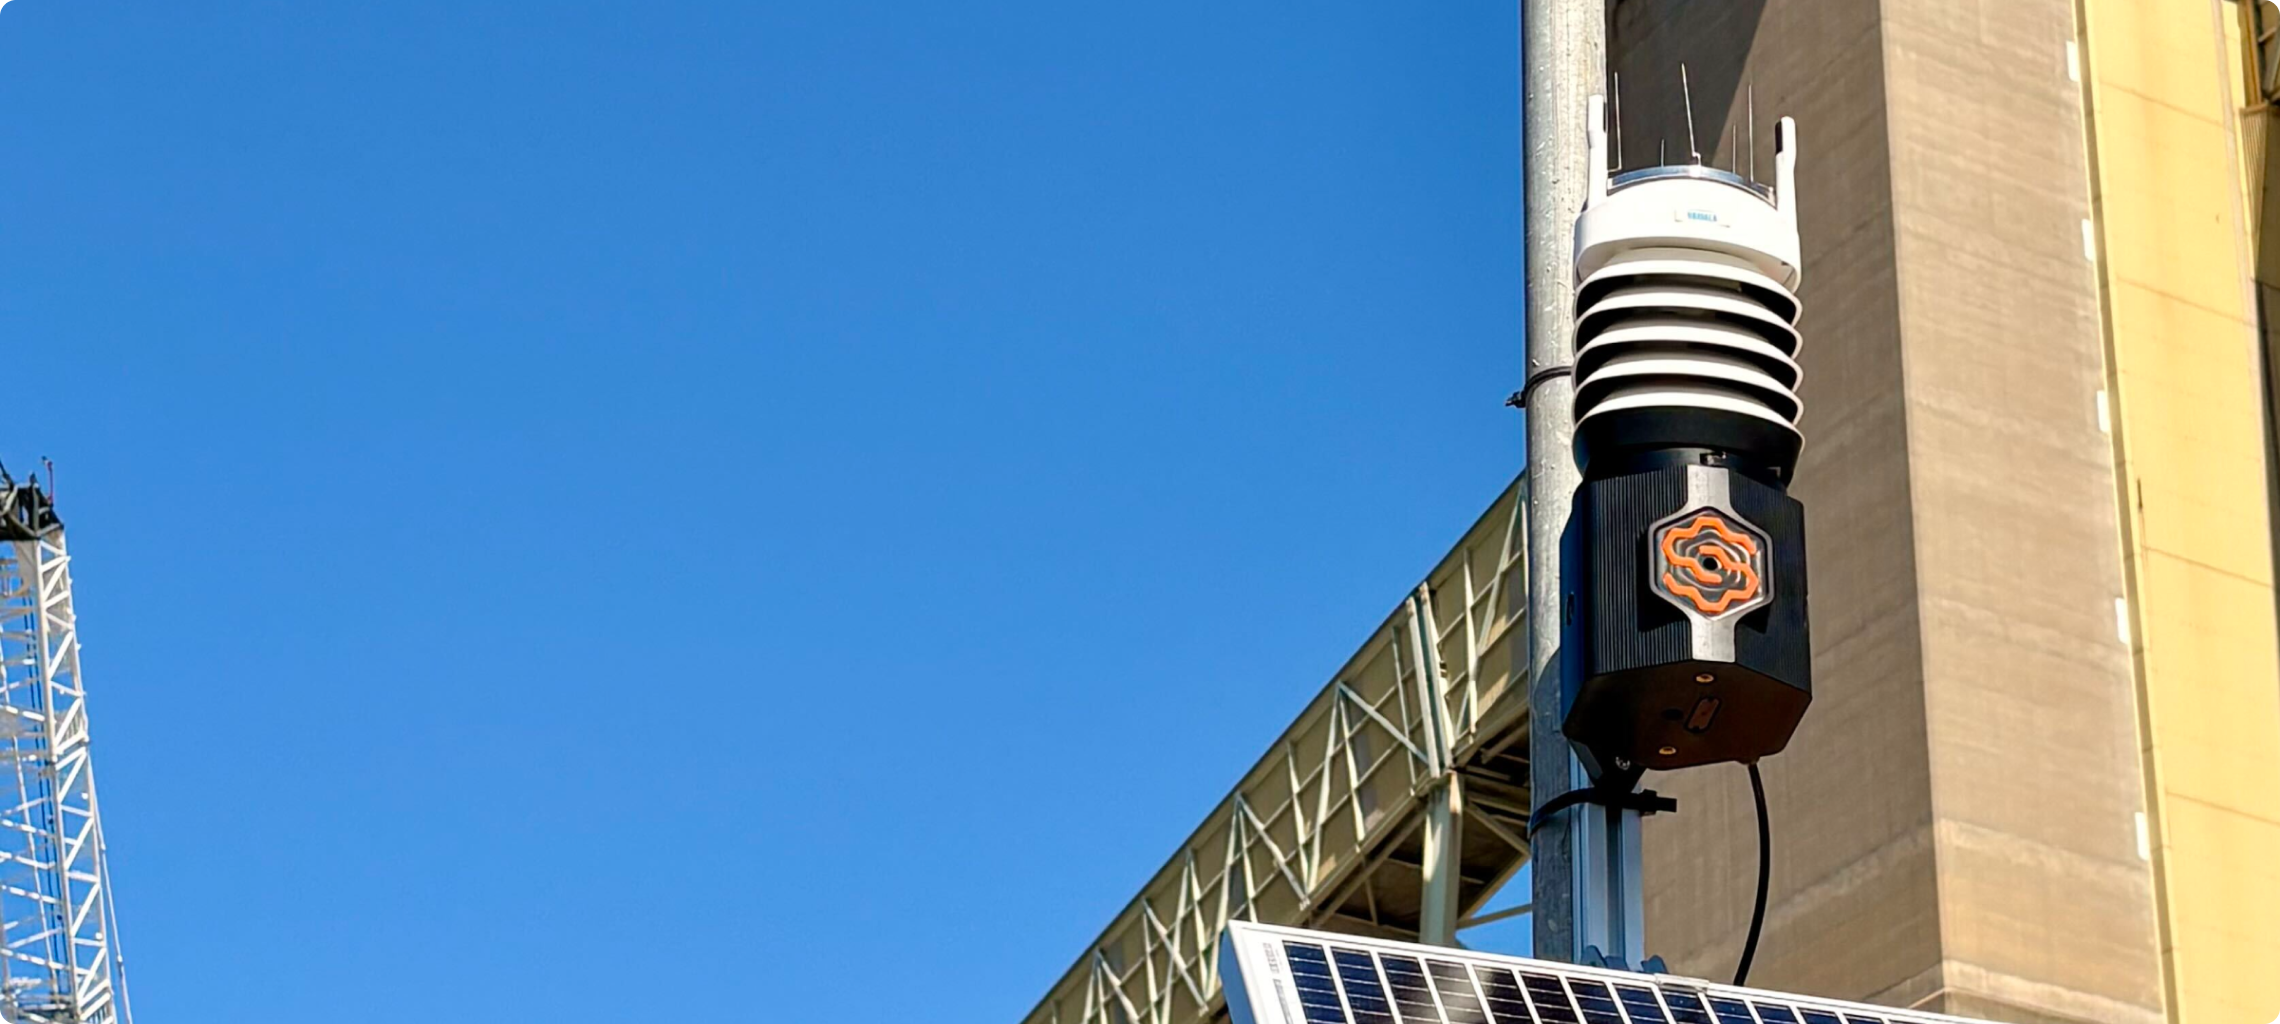
Install the SiteHive Hexanode Weather device the same way as the other Hexanodes: mount it in its special mounting bracket, power it, and you are done here when the light is green. Weather is the one device where placement decides the quality of the data, so most of the care goes into choosing the spot.
Before you start
Open exposure. Wind and rain need a clear approach: away from buildings, hoardings, trees and stacked materials that shield or funnel the wind. Higher is better than lower.
Representative of the site. Put it where the conditions you care about happen: near the exposed earthworks if dust is the concern.
Away from local heat and exhaust. Not beside a generator, an air-conditioning outlet or a dark wall that radiates heat.
Power and signal. Mains or solar, as decided in Before you head on site; check your phone has signal at the spot.
Steps
Assemble the mount. Build the solar stand or fix the mounting bracket to the pole or rail, as for any other Hexanode. For solar, lift the panel, tighten the screws via the 45° bracket and face the panel north.
Mount the device level. Fix the Weather device in place using the specially design bracket.
Note which way the logo faces. Use your phone's compass and write the bearing down, or take a photo with a landmark in it. You confirm orientation in SiteHive Enviro afterwards.
Connect power. Connect the battery cable to the battery and the load cable to the device, or plug in the mains adapter. Route the cable so it cannot pull on the device or snag.
Check the light. The LED in the centre of the SiteHive logo starts flashing. Green: powered, connected and recording, you are done here. Blue: powered but not connecting, try more height or a spot away from metal and concrete. No light: check the battery and cables.
Take a context photo and move on. One photo of the finished deployment, then the next device. Do not wait for the dashboard: data takes up to 15 minutes to appear.
ℹ️ The device samples conditions every minute, sends them over 4G, and captures a site image every 15 minutes. On standard SiteHive Enviro weather is shown in 15-minute periods; SiteHive Enviro Pro adds 1, 5 and 15-minute periods and wind and rain radar layers.
💡 Set the site location correctly in Settings > Site Details so the forecast on your dashboard is for your exact site.
What's next
Lights: what they mean and when to move on (every LED state, and why green is your all-clear)
One software pass: add all your devices (after the walk, assign each device to its Monitoring Point)
SiteHive Weather: what it measures (what the device records and where it appears)