
SiteHive Hexanode Vibration: what it measures and how
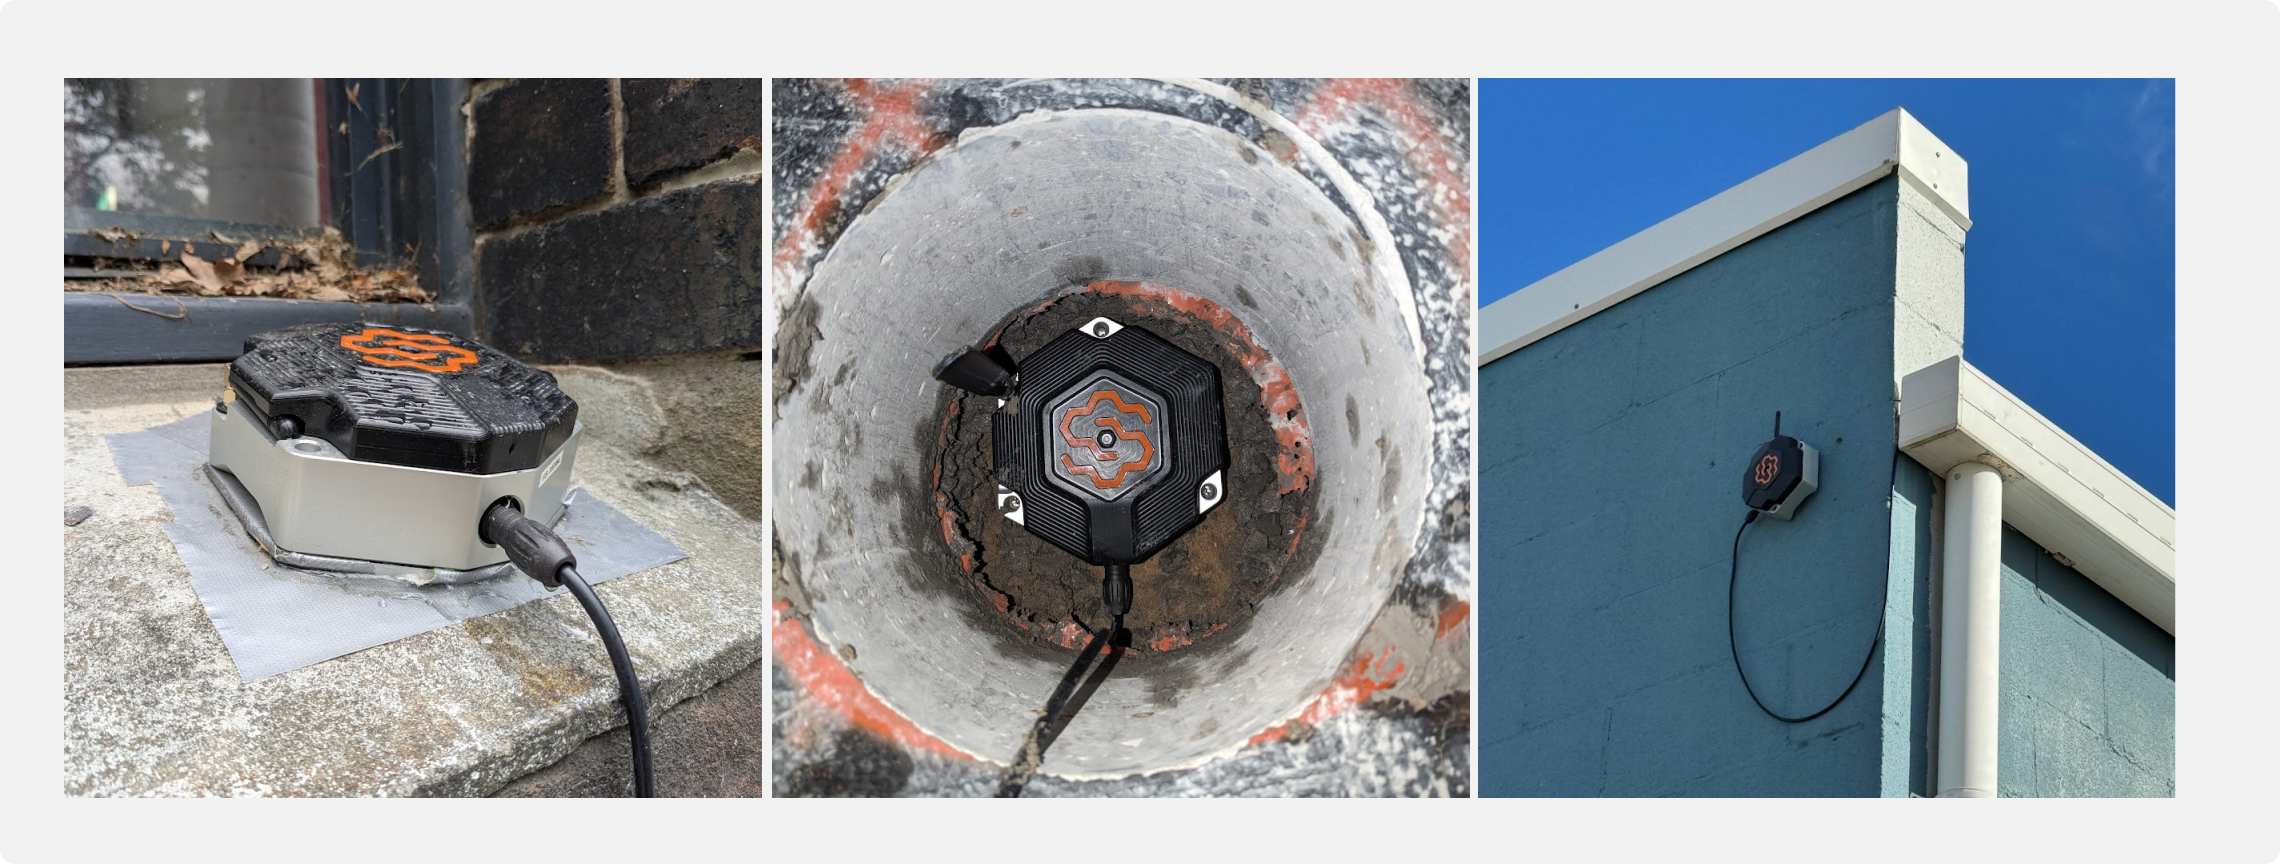
This guide covers deploying the SiteHive Hexanode Vibration device in five configurations: two solar power setups (lithium battery or lead-acid battery) and three mounting options (adhesive, soft ground, hard ground).

Hexanode Vibration - Lithium battery solar set up
Steps
Lift the solar panel: lift the solar panel and tighten the screws via the 45° bracket (for best solar, face the panel north).
Attach the cross stand piece: take the standalone cross piece and screw the L bracket to it.
Attach spikes: if the Vibration device will be on soft ground (e.g. dirt), turn the device over and screw in the spikes.
Attach the battery and battery cable: screw the lithium battery to either of the base pieces. Connect the battery cable from under the solar panel to the battery. The solar controller box indicates which is the battery cable.
Connect the Hexanode: connect the load cable (found under the solar panel) to the Vibration device. The white marker face up is the best guide for inserting.
Check the Hexanode Vibration is on: look for the flashing LED in the centre of the SiteHive logo. Green (🟢): powered on and making a comms connection. Blue (🔵): powered on but unable to make a comms connection. See Troubleshooting an Offline Hexanode Device for the full LED guide.
Hexanode Vibration - Lead acid battery set up
Steps
Lift the solar panel: lift the solar panel and tighten the screws via the 45° bracket (for best solar, face the panel north).
Attach the cross stand piece: take the standalone cross piece and screw the L bracket to it.
Attach spikes: if the Vibration device will be on soft ground (e.g. dirt), turn the device over and screw in the spikes.
Connect the battery and load, and mount the battery: connect the battery cable to the solar controller and battery (ensure + goes to +, and - to -). Connect the solar cable to the solar controller (found behind the solar panel). Connect the load cable to the solar controller, then to the Vibration device. Place the battery lid on and secure it with the strap.
Connect the Hexanode Vibration: connect the load cable (found under the solar panel) to the Vibration device. The white marker face up is the best guide for inserting.
Check the Hexanode Vibration is on: look for the flashing LED in the centre of the SiteHive logo. Green (🟢): powered on and making a comms connection. Blue (🔵): powered on but unable to make a comms connection. See Troubleshooting an Offline Hexanode Device for the full LED guide.

Hexanode Vibration - Mount with adhesive
Steps
Clean the surface: ensure the surface where you plan to mount the device is clean and dry. Use a cloth or cleaning solution to remove any dust, dirt, or grease so the adhesive bonds properly.
Attach tape to the wall: apply the double-sided adhesive tape to the wall or surface where the device will be mounted. Press firmly so the tape sticks securely. The tape acts as an initial guide for the placement and stability of the base plate.
Attach tape to the base plate: apply another piece of double-sided adhesive tape to the base plate of the device. This provides additional adhesion when the base plate is attached to the wall.
Apply adhesive over the tape: apply a strong adhesive (epoxy works well) over the tape on the wall. The adhesive enhances the bond, ensuring the device remains securely mounted over time.
Attach and secure the base plate: carefully position the base plate onto the adhesive on the wall. Press down firmly to ensure a strong bond between the base plate and the wall.
Attach the device to the base plate: secure the Vibration device on the base plate and screw it in firmly.
Power the device: the Vibration device can be powered in several ways depending on your setup. Mains power: connect the device to an electrical outlet using the provided power adapter, ensuring the connection is secure. Battery only: connect the external battery pack to the device, ensuring all connections are secure. Solar and battery: if using a solar panel, connect it to the device, positioning the panel north for optimal sunlight exposure.
Check the LED: flip out the antenna, then look for the flashing LED in the centre of the SiteHive logo. Green (🟢): powered on and making a comms connection. Blue (🔵): powered on but unable to make a comms connection. See Troubleshooting an Offline Hexanode Device for the full LED guide.
Hexanode Vibration - Mount on soft ground
Steps
Attach spikes: secure the long spikes to the base of the Vibration device. Ensure they are firmly attached, as they provide stability when the device is placed on the ground.
Place the device on the ground: remove any loose soil and position the device on the soft ground, pressing down to ensure the spikes are fully embedded.
Flip out the antenna: for optimal signal reception, flip out the antenna on the device. Ensure it is fully extended and orientated for the best communication connection.
Power the device: the Vibration device can be powered in several ways depending on your setup. Mains power: connect the device to an electrical outlet using the provided power adapter, ensuring the connection is secure. Battery only: connect the external battery pack to the device, ensuring all connections are secure. Solar and battery: if using a solar panel, connect it to the device, positioning the panel north for optimal sunlight exposure.
Check the LED: look for the flashing LED in the centre of the SiteHive logo. Green (🟢): powered on and making a comms connection. Blue (🔵): powered on but unable to make a comms connection. See Troubleshooting an Offline Hexanode Device for the full LED guide.
Hexanode Vibration - Mount on hard ground
Steps
Attach spikes: secure the short spikes to the base of the Vibration device. Ensure they are firmly attached, as they provide stability when the device is placed on the ground.
Place the device on the ground: position the device on the hard surface, pressing down so the short spikes locate it. If the spikes cannot embed, the Vibration device body is heavy enough to hold it in place.
Flip out the antenna: for optimal signal reception, flip out the antenna on the device. Ensure it is fully extended and orientated for the best communication connection.
Power the device: the Vibration device can be powered in several ways depending on your setup. Mains power: connect the device to an electrical outlet using the provided power adapter, ensuring the connection is secure. Battery only: connect the external battery pack to the device, ensuring all connections are secure. Solar and battery: if using a solar panel, connect it to the device, positioning the panel north for optimal sunlight exposure.
Check the LED: look for the flashing LED in the centre of the SiteHive logo. Green (🟢): powered on and making a comms connection. Blue (🔵): powered on but unable to make a comms connection. See Troubleshooting an Offline Hexanode Device for the full LED guide.
What’s next
Easy Setup and the Manage Window (assign the device to a monitoring point and see your data)
SiteHive Hexanode Vibration (what the device measures and how placement affects data quality)
Device on but no data? Troubleshooting an Offline Hexanode Device