Orientate your device
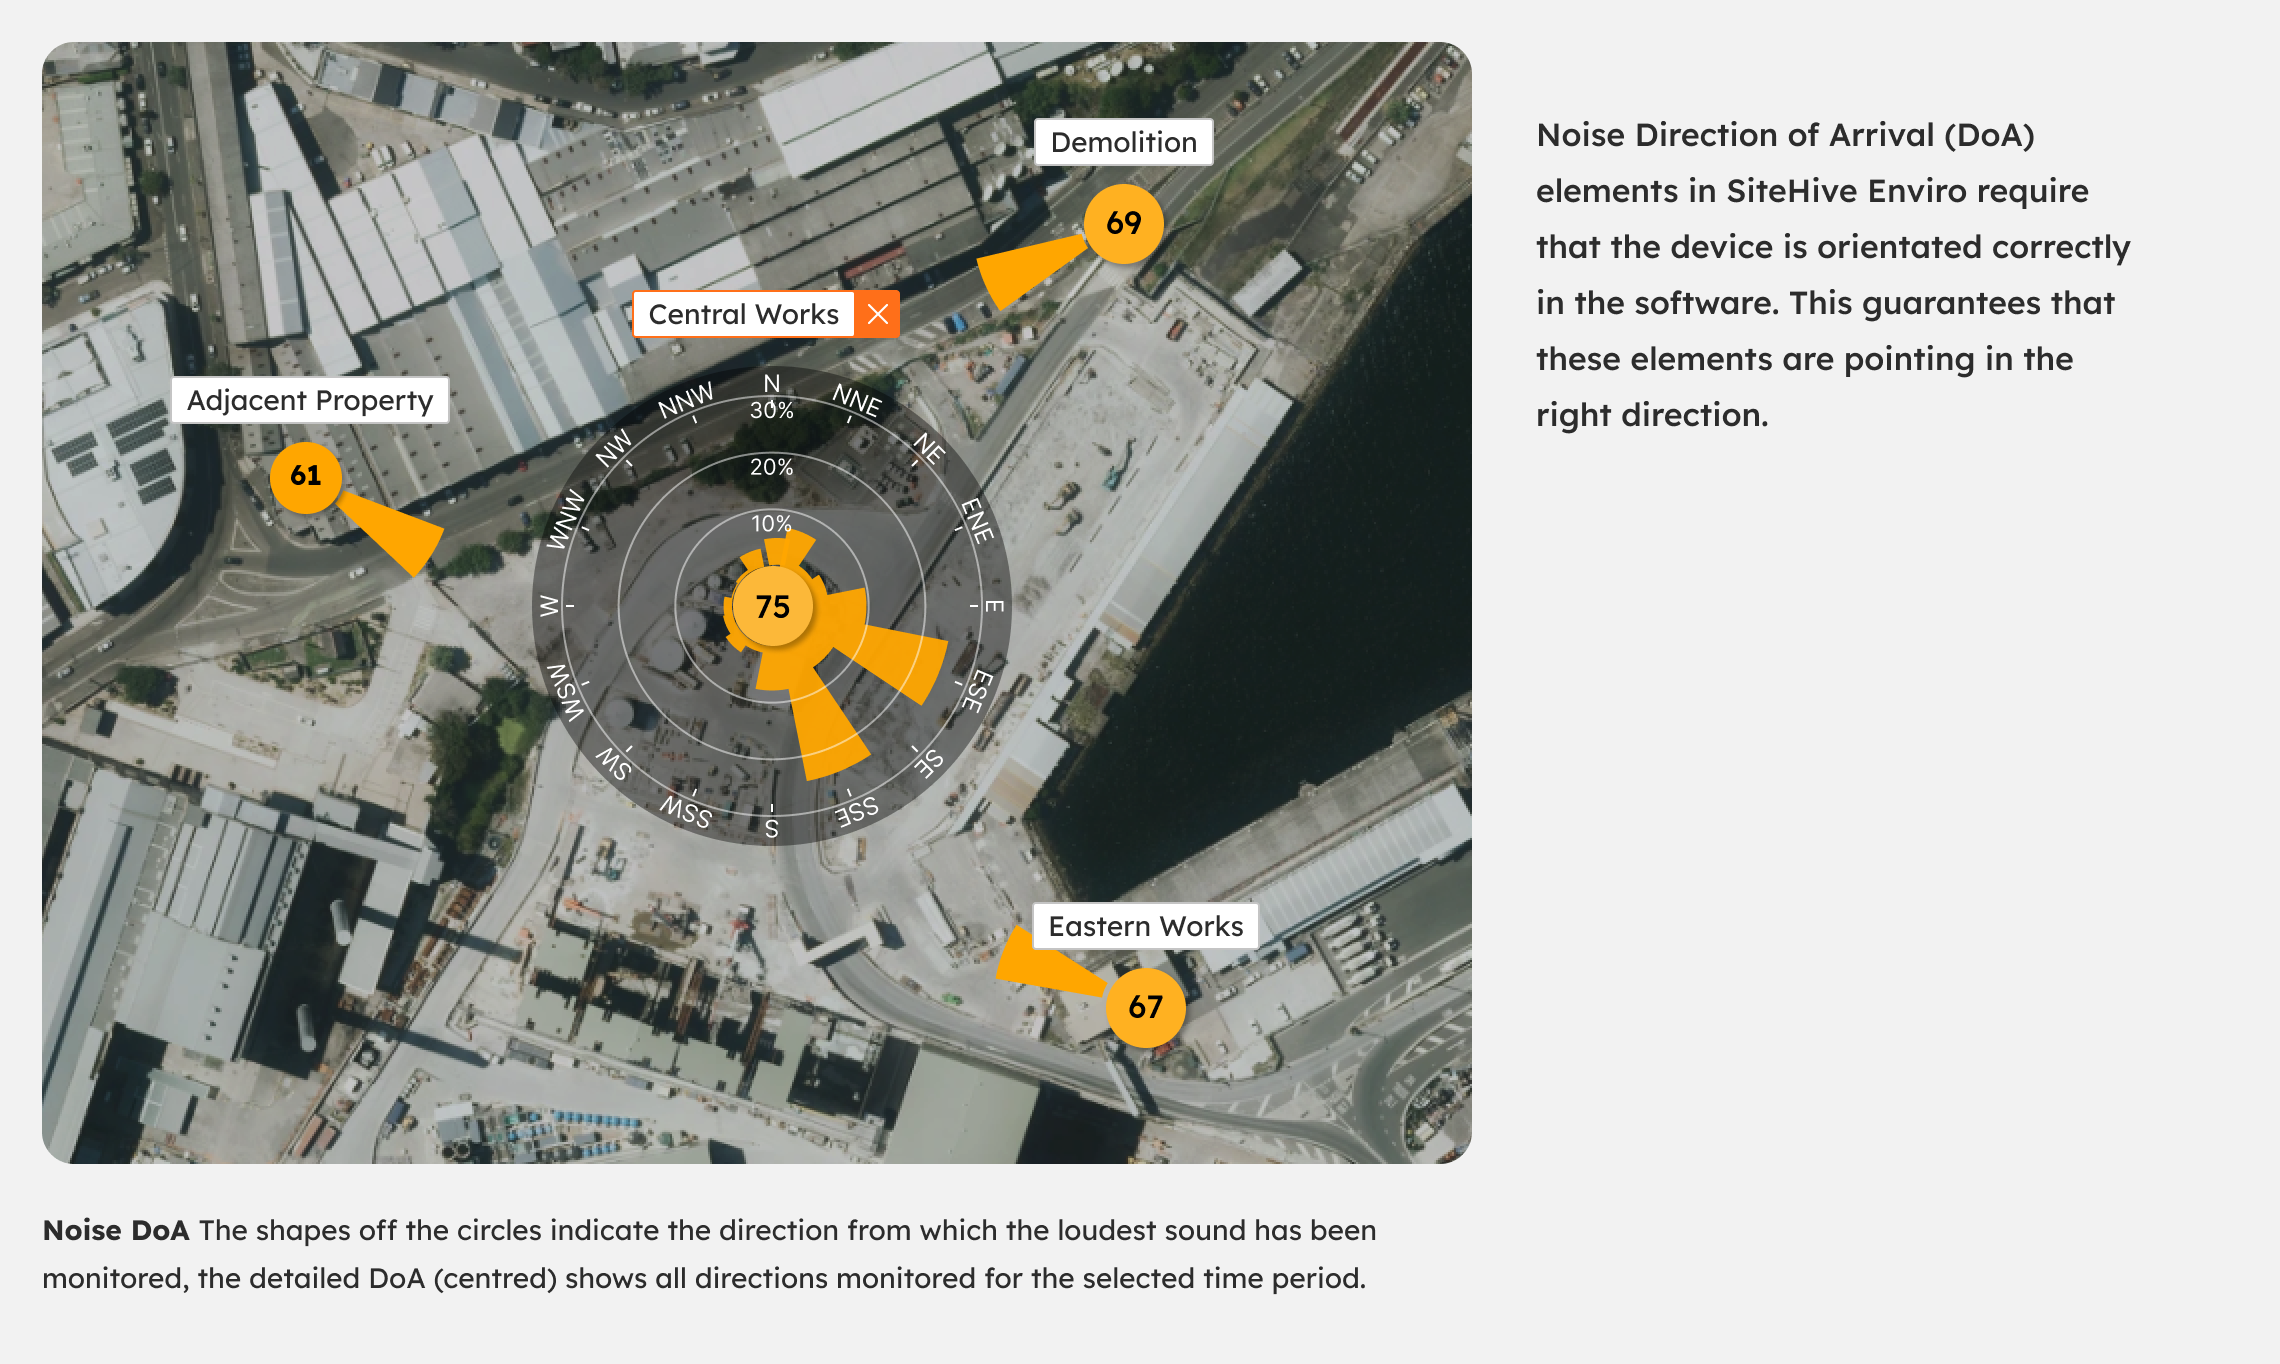
For SiteHive Hexanode devices that include noise, it's important to know the physical direction of the device on site and make sure that is configured correctly in SiteHive Enviro. This orientation affects the Direction of Arrival elements for Noise.
This page covers how to set, confirm or edit your device's orientation (its compass bearing), and what to do if the Direction of Arrival looks wrong.
Actual device orientation
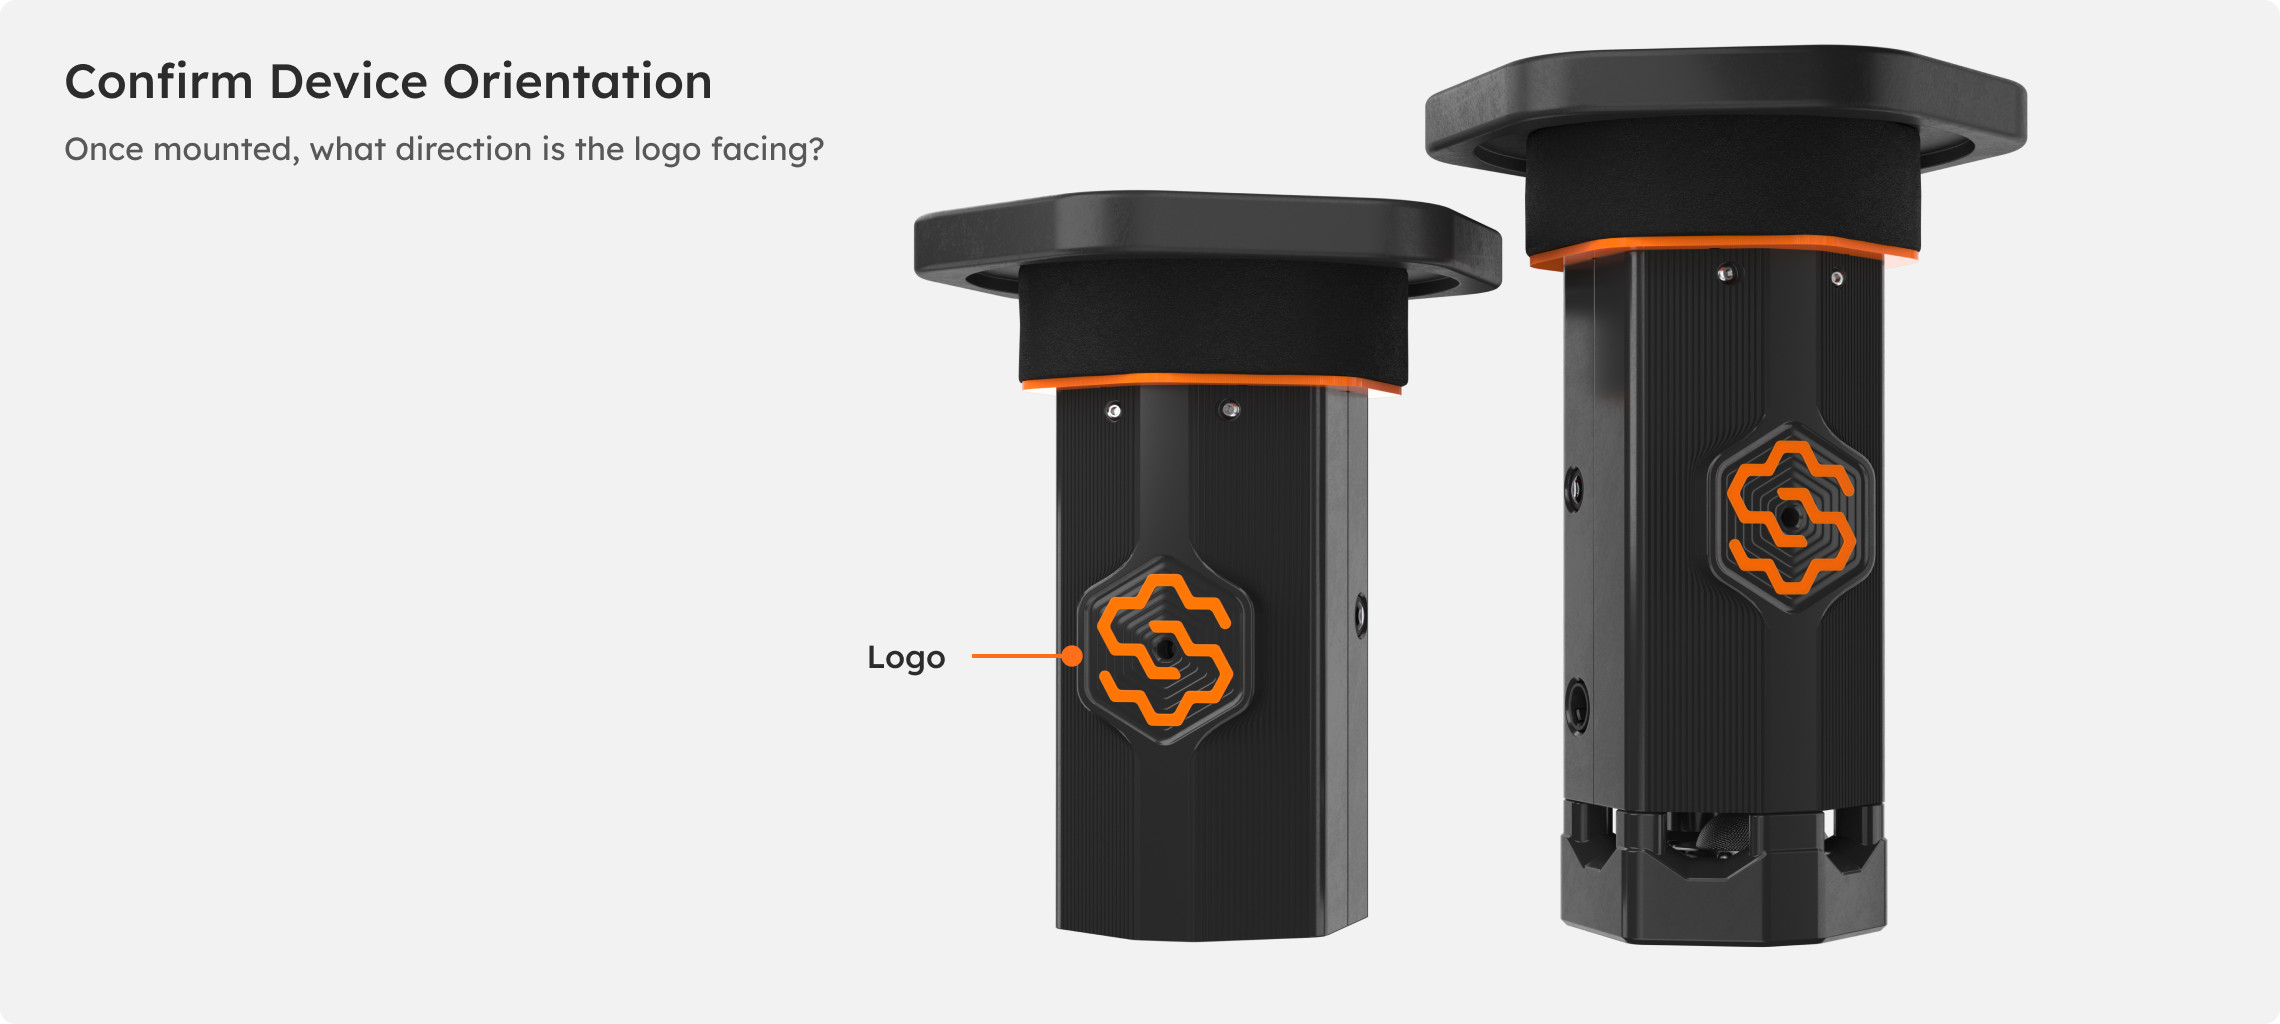
When installing a device it is good practice to record what direction the logo on the device is facing. You can also take a photo of the device in broader context, to later ascertain its orientation when off-site. If you don't have an easy way to work out what direction your device is facing, your mobile phone probably has a Compass app that can help you on site with compass directions, or you can use the images captured by the device (see the section below).
Confirming orientation via Easy Setup
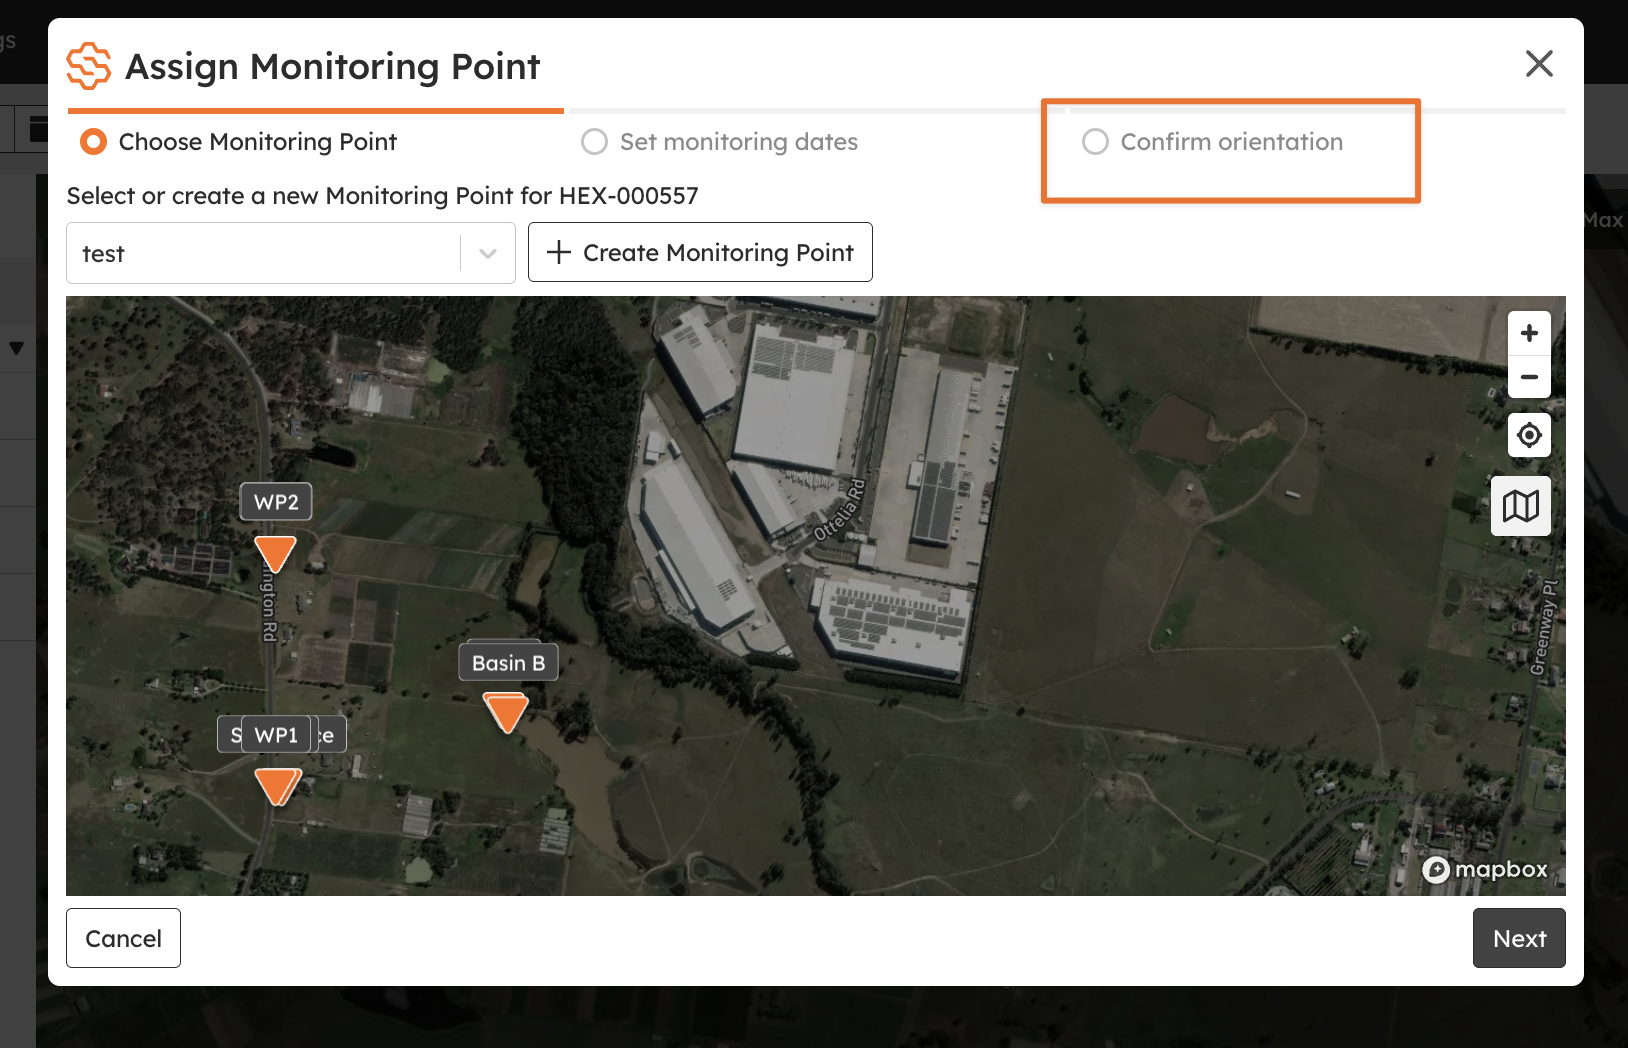
As part of the Easy Setup process, when you first deploy your device and assign its location at a monitoring point, you will be asked to confirm its orientation. It is the third step, after choosing a monitoring point and setting dates.
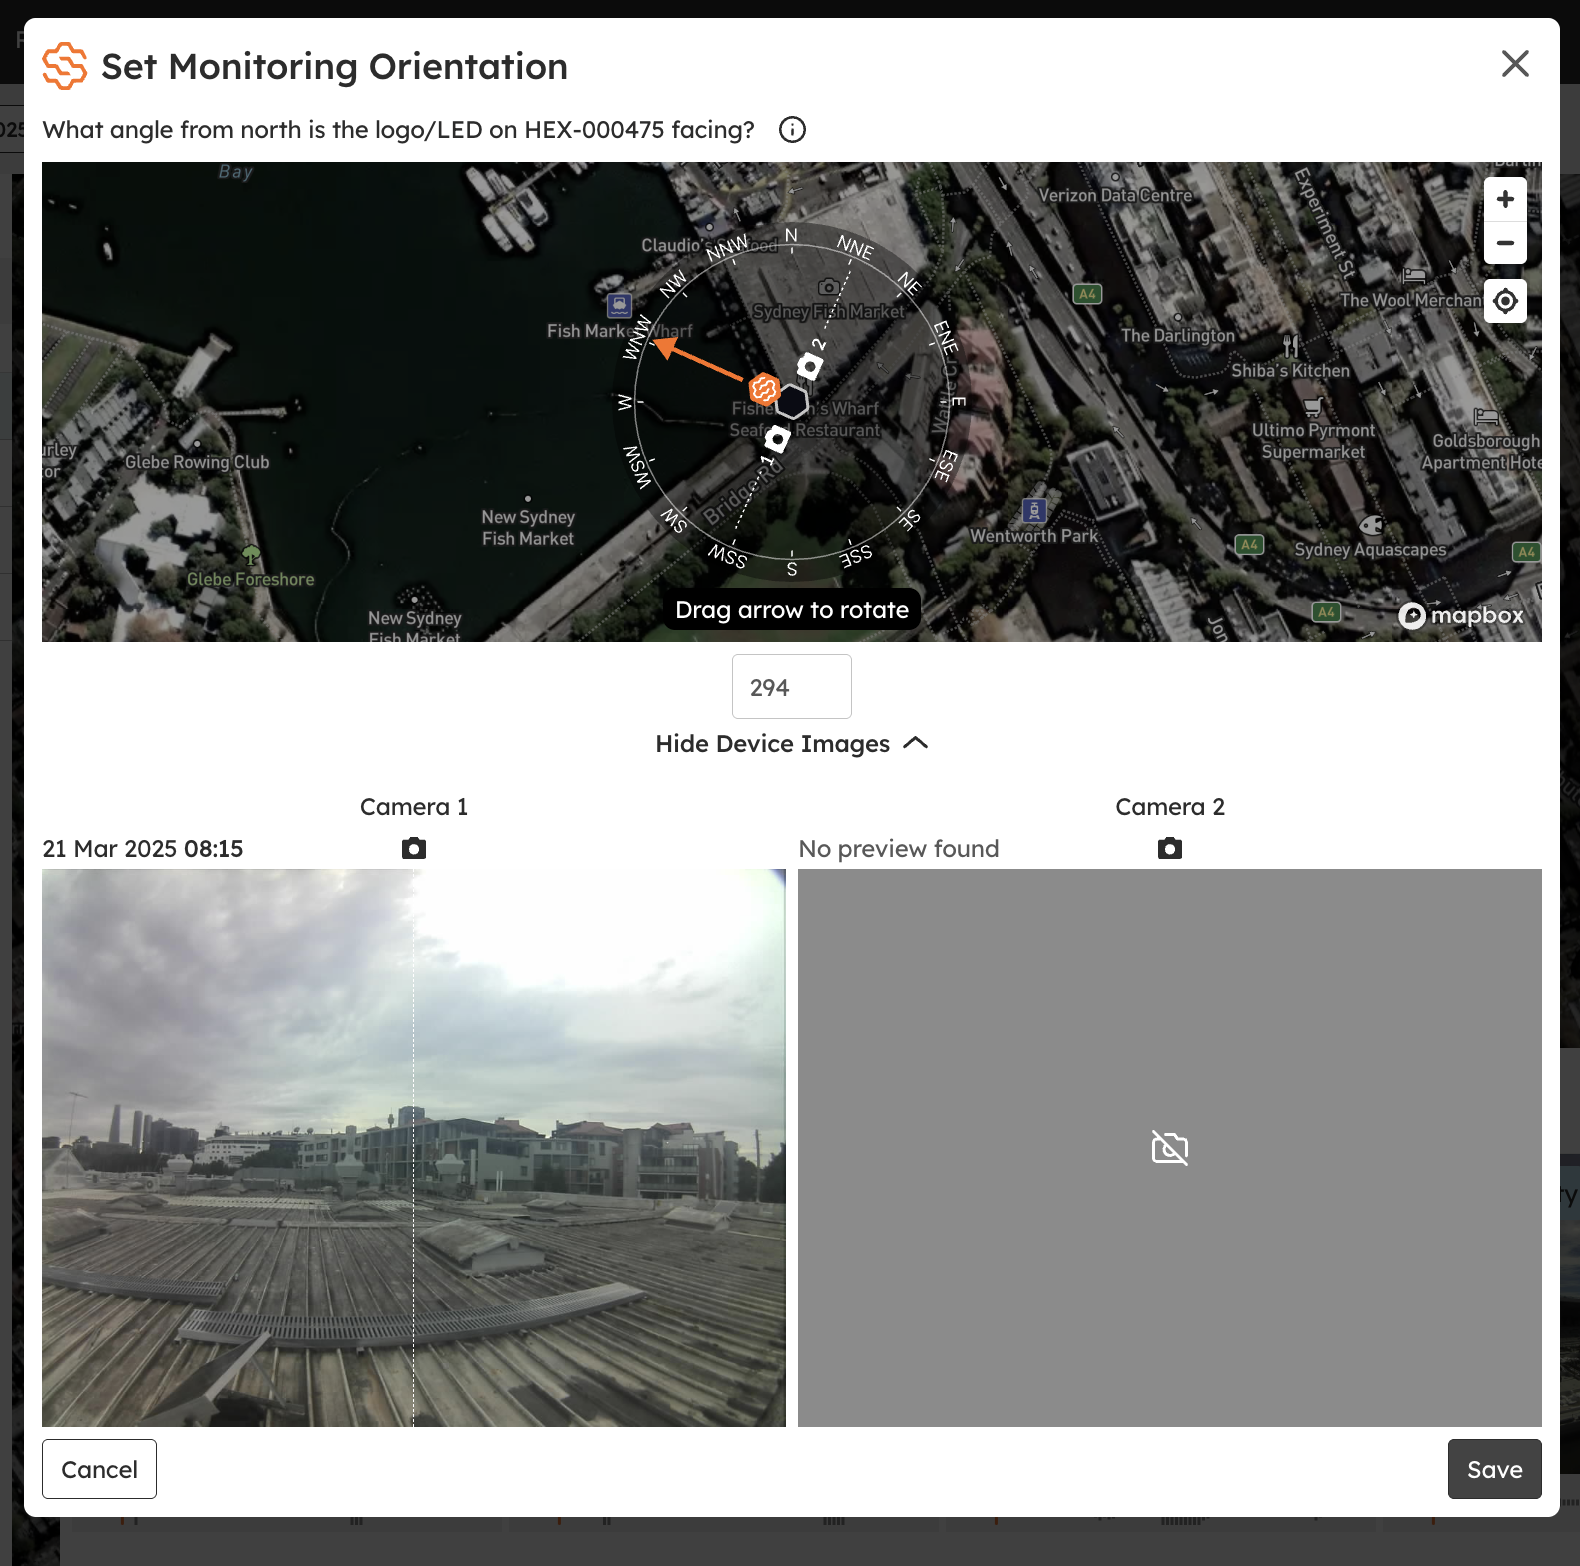
Once on the Confirm Orientation step you simply:
Drag and rotate the dial on the map so the orange arrow points in the same direction as the logo on the front of your actual device.
Or, if you used a compass on site and know the bearing from true north, enter the bearing in the text box.
If you are unsure what direction it is pointing, you can also use the images captured by the device cameras to work out its orientation (see below).
Using camera images to orientate the device
If media has been captured on the current day, an image (or two images) from the device cameras is shown. A vertical line down the middle of each image represents the direction that camera is pointing, and the dial on the map has matching lines for Camera 1 and Camera 2.
To orientate the device using an image:
Look at one camera image (for example Camera 1) and note what the vertical centre line points at.
Find that feature on the map.
Rotate the dial until the Cam 1 line points at that feature. This in turn orientates your device correctly.
💡 If you can see a landmark, like a tall building, in the camera photo, find it on the map and use it as a reference to orientate from.
How to adjust your orientation
To adjust or edit the orientation of your device, select the Manage button on the Dashboard, or on the Settings > Devices & Monitoring Points page select the Manage button for the device.
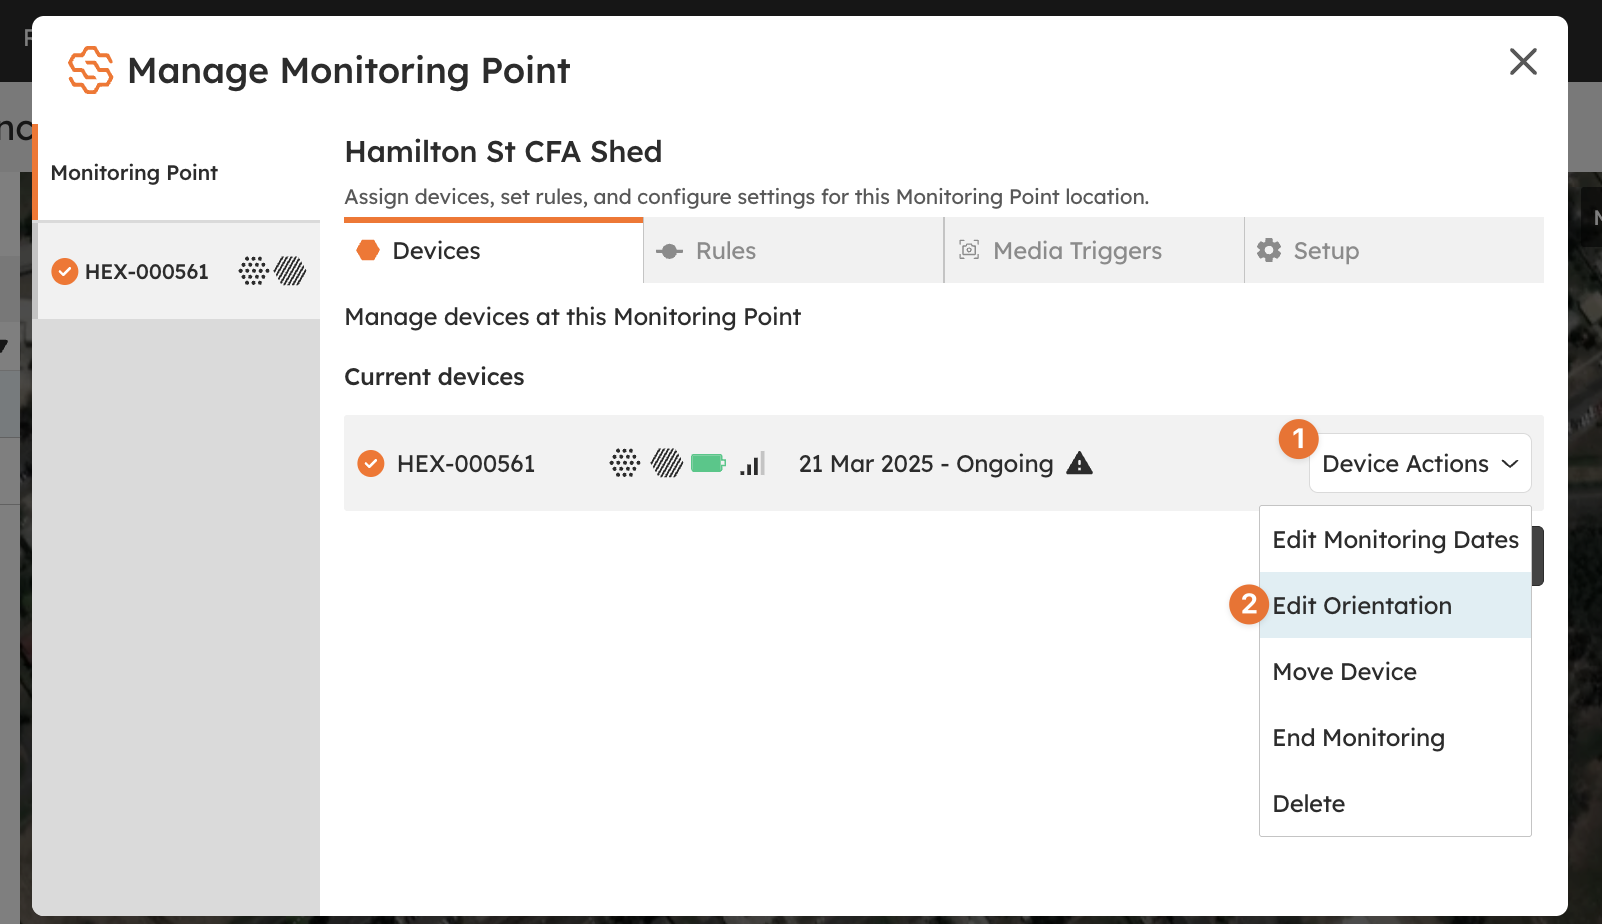
Once in the Manage Window:
Click the Device Actions dropdown menu.
Select the Edit Orientation action.
This opens Set Monitoring Orientation, where you can adjust the orientation.
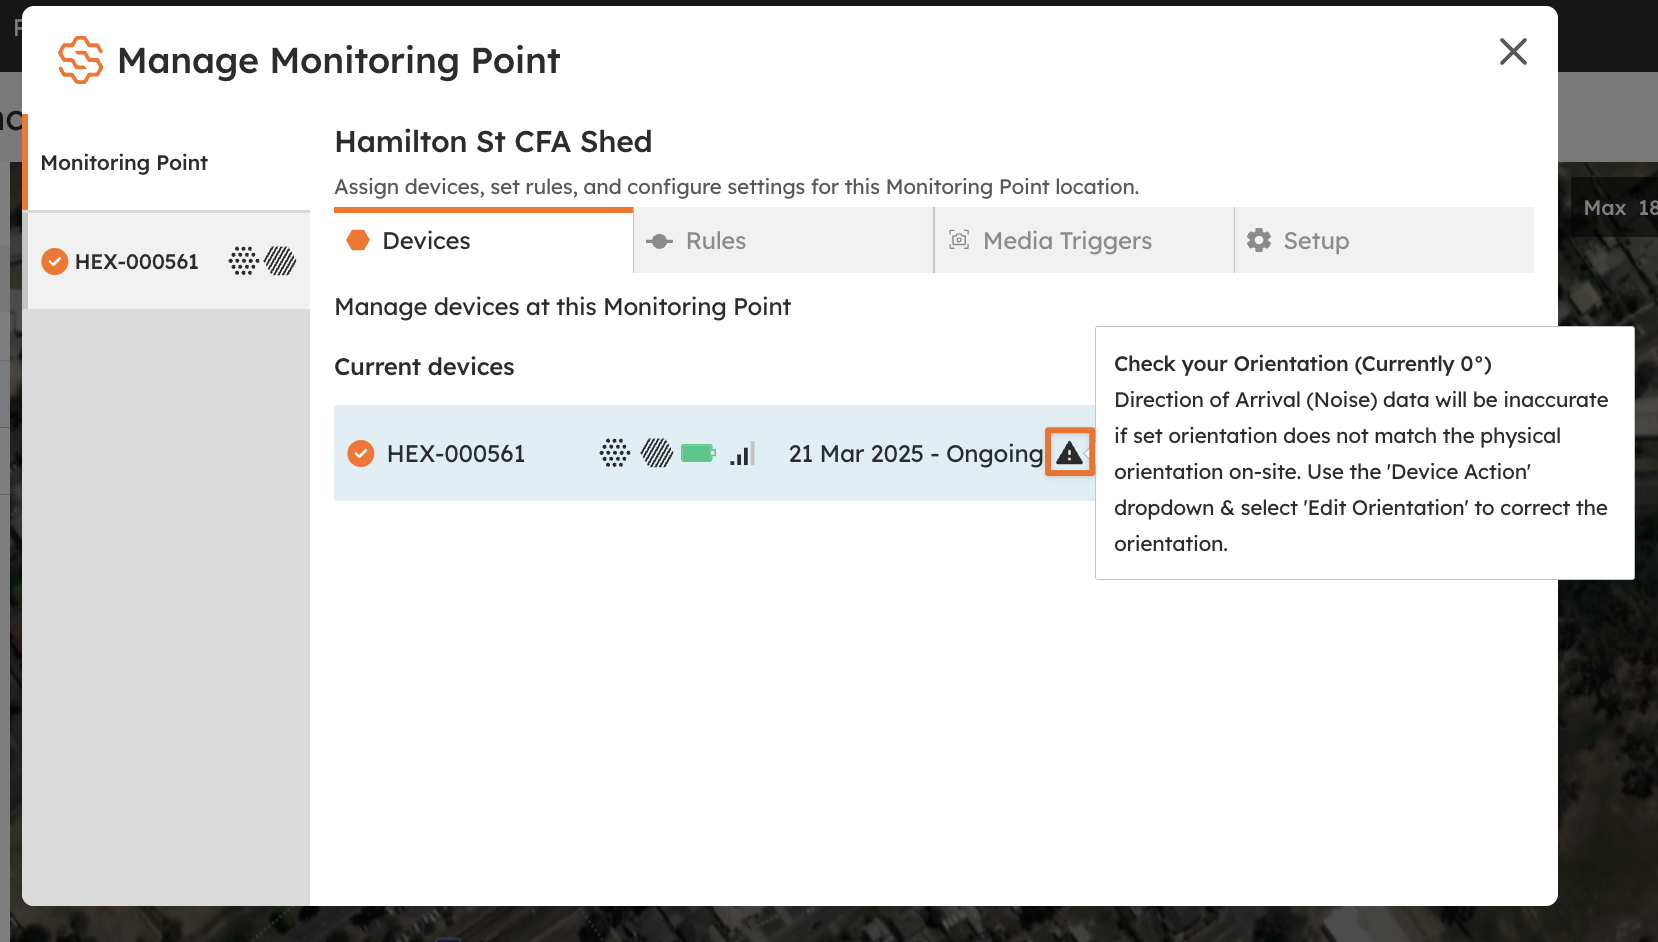
If the device has been set with a default value of 0, you will get a warning. This is just a reminder to check that orientation.