
Add KML map layers
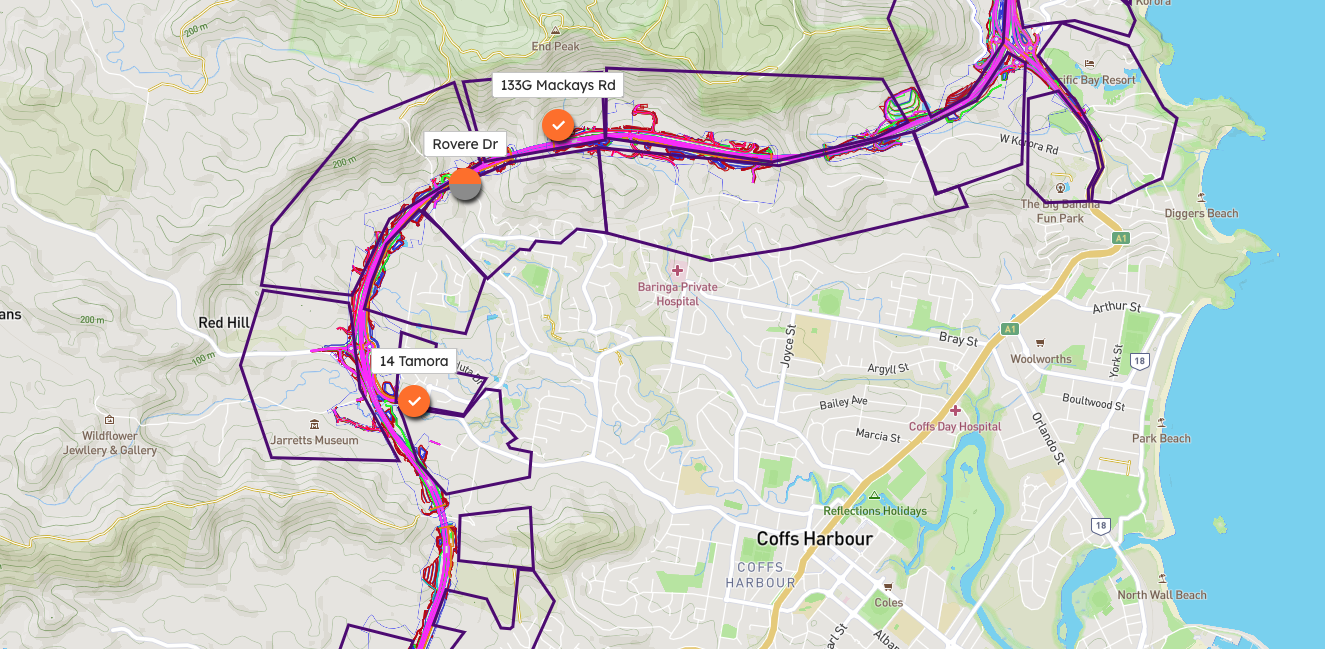
A KML file puts your own geographic data on the Dashboard map: project boundaries, work zones, noise catchment areas, alignments. Upload one and it sits under your Monitoring Points, so the map shows your site the way your project drawings do.
ℹ️ KML maps are a SiteHive Enviro Pro feature. See What is included in SiteHive Enviro Pro.
Upload a KML file
Log in to SiteHive Enviro and go to Settings in the top menu bar.
Click Site Details in the second menu bar, below your site name.
Scroll to the bottom of the page to KML files upload.
Click Upload Files, choose your KML file and click Save.


Once uploaded, your KML map is available on the Dashboard map.
Edit your KML map for better visibility
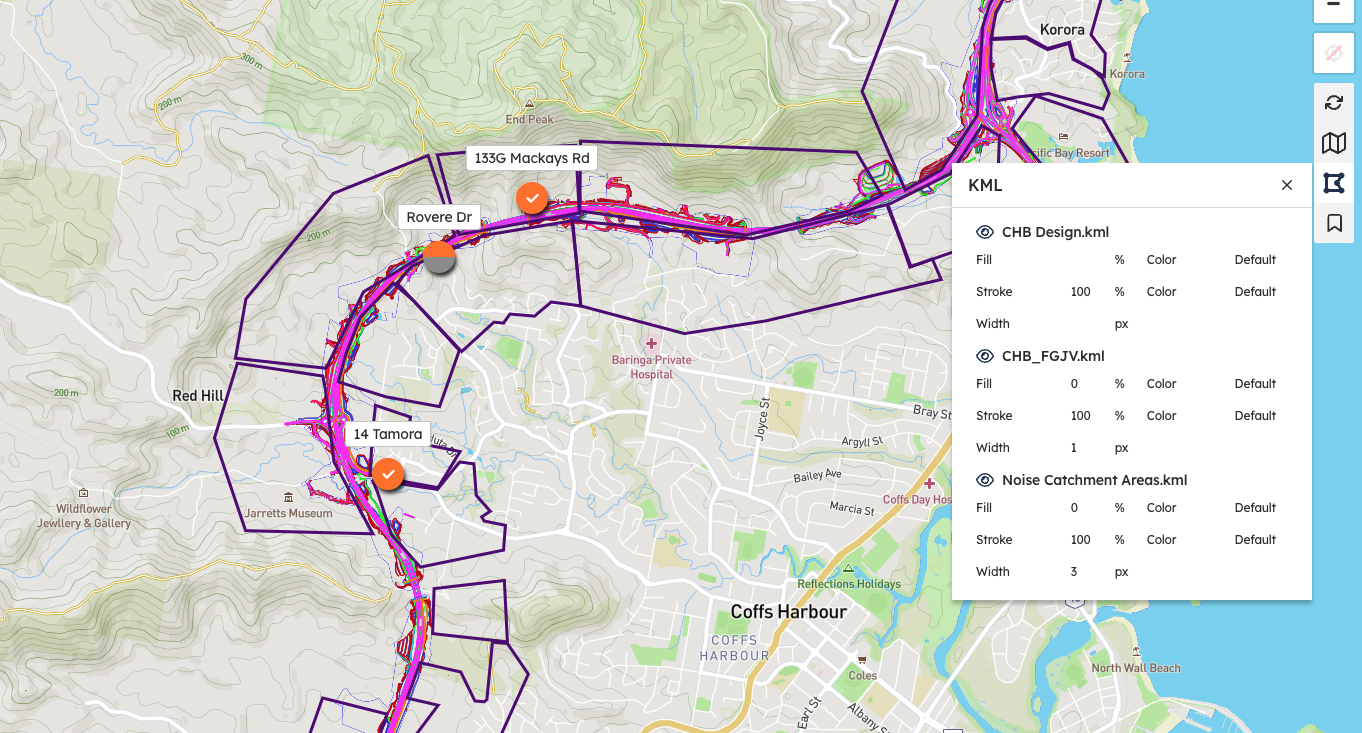
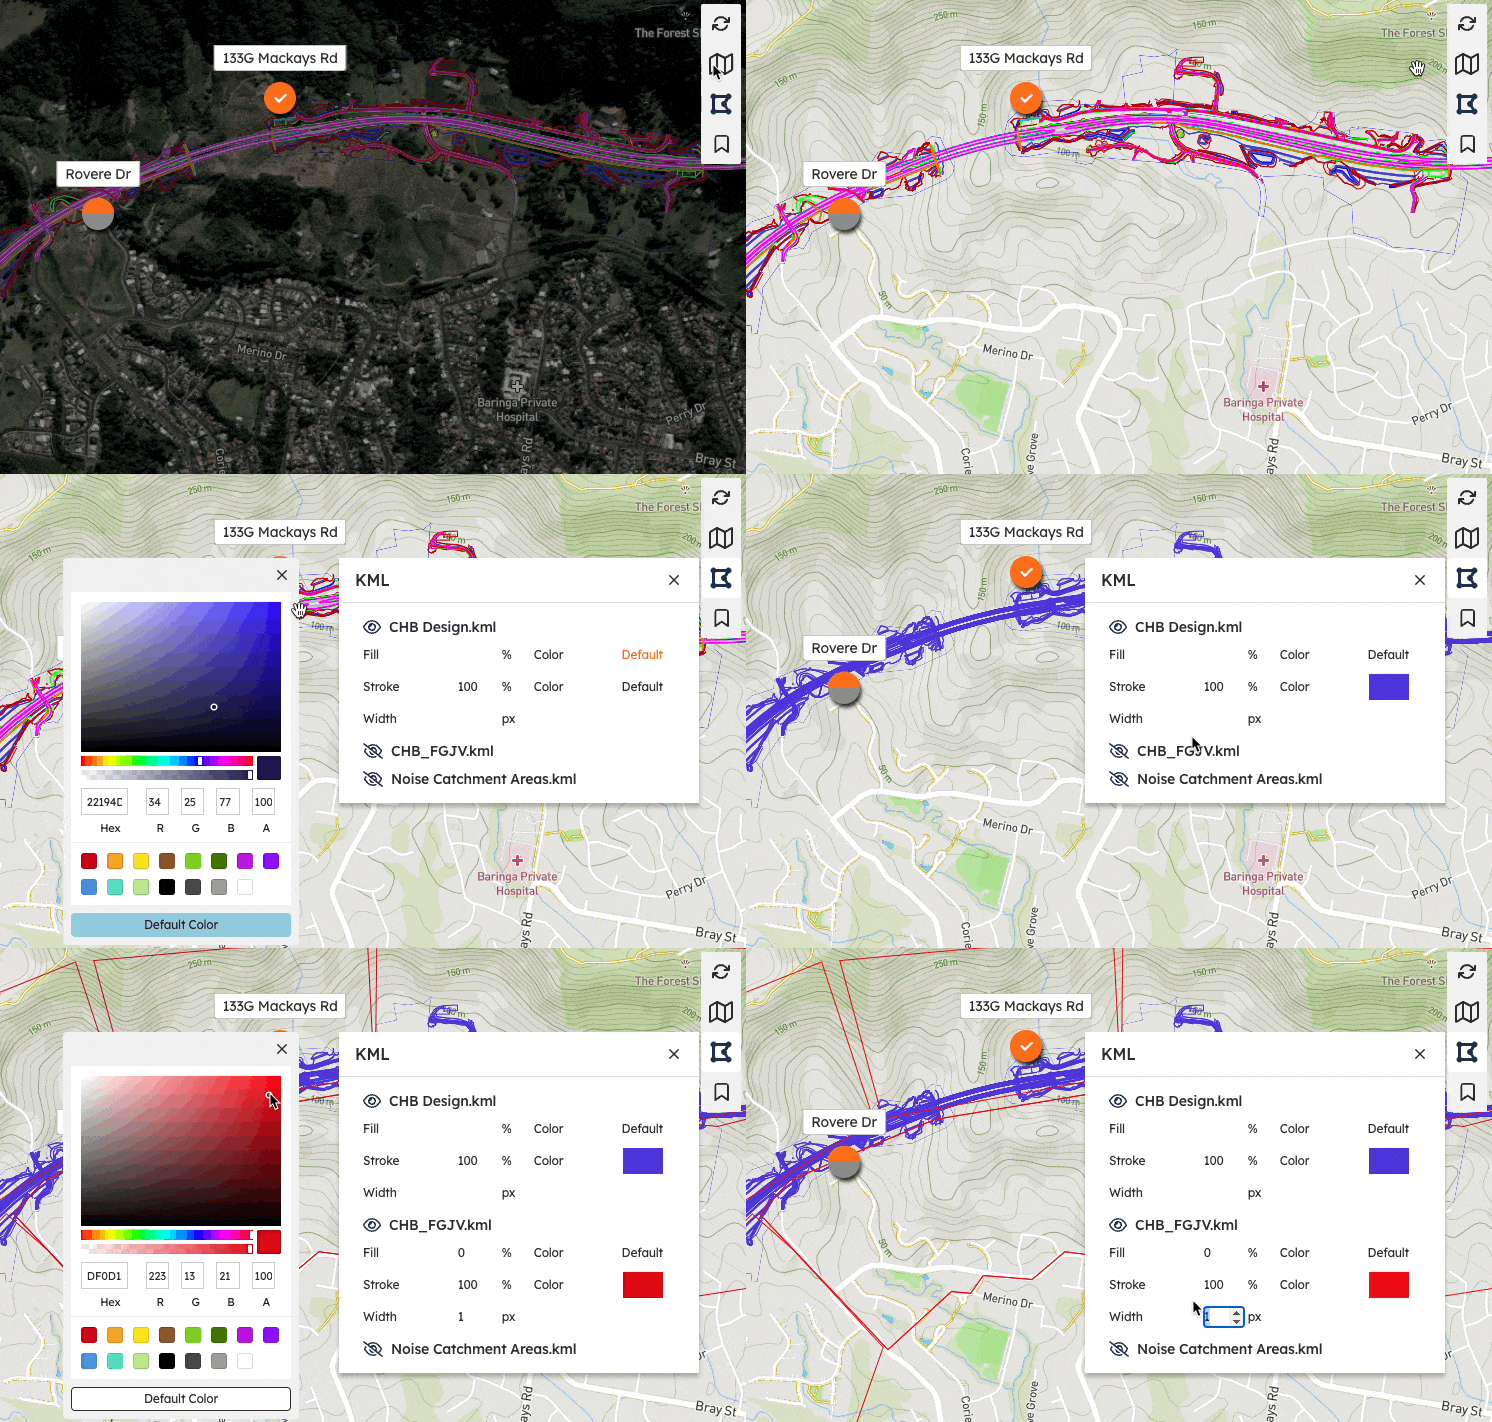
You can change the fill colour, the stroke colour and the line width of each map so it stands out against the imagery.
On the Dashboard map, click the KML map icon at the right-hand edge.
Select the KML map to edit.
Click the eye icon.
Choose your fill colour, stroke colour and width.
What's next
Add survey and aerial maps (drone surveys and high-resolution aerial imagery under your Monitoring Points)
Dashboard overview (the live map and everything around it)
What is a Monitoring Point? (the locations your KML sits beneath)